Are you ready to feel the wind in your hair as you cruise down a deserted path on your electric bike? If so, then one of the most important steps is ensuring your electric bike has its lights turned on. A good lighting system is paramount for nighttime rides, as it allows cars and pedestrians to see where you are going and avoid potential dangers.

In this blog post, we'll guide you through how to turn on electric bike light - no matter what type of lighting system or e-bike model you have! By following these instructions, you can confidently hit that night trail, knowing that your lights will keep everything visible wherever the ride takes you.
To begin, you'll need to ensure that you have the right tools and equipment. Depending on your lighting system, you may need one or more of the following:
1. Battery pack/charger
2. Electric bike remote
3. On/off switch
4. Wrench or screwdriver
5. Helmet
Once you have your required tools and equipment ready, you're ready to turn on your electric bike light.
The first step is to plug your battery pack or charger into the port that corresponds with your bicycle's light system. This will provide power to your lighting system and turn it on. Ensure that the battery pack is fully charged, or you may experience dim lights.
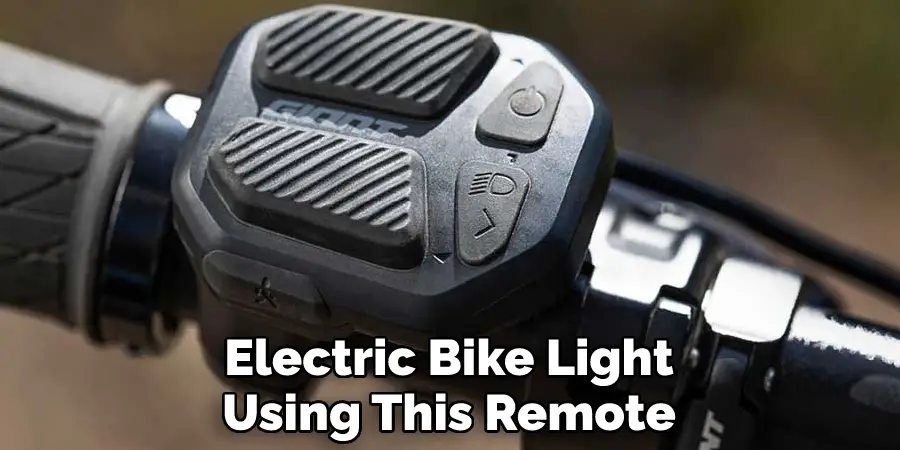
Many e-bike models also come with a remote control that allows you to control your ride without taking your hands off the handlebars. To turn on your electric bike light using this remote, simply press the power button until your lights turn on. Ensure that the remote is fully charged and within range of your bike.
Some electric bike models may have a dedicated on/off switch for the light system. To turn this on, simply flip the switch to the "On" position, and your bike's lights will come on immediately. If you are unsure how to locate this switch, consult your bike's manual or other documentation for guidance.
If your bike's lighting system does not have its own remote control or on/off switch, you may need to use a wrench or screwdriver to tighten it. To do so, locate the bolt or screw that connects your lights to the bike frame and quickly tighten it. This will ensure that your light system stays securely in place no matter how bumpy your ride gets.
Safety is always a top concern when riding at night, especially if you are traveling on busy city streets or trails with traffic nearby. To ensure that you stay visible, we recommend wearing a high-quality helmet and ensuring that all of your reflective gear is in good condition and clean. Don't forget to carry a flashlight or wear reflective clothing if you also plan to ride at dusk or dawn.
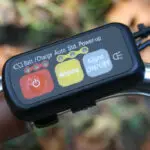
Before you head out on your ride, it's important to check how much battery life remains in your bike light system. To do so, consult the display of your battery pack (if applicable) and ensure that it shows green or blue - this means there is enough power for a successful night ride. If any of the lights show red, then you will need to charge your battery before taking off again.
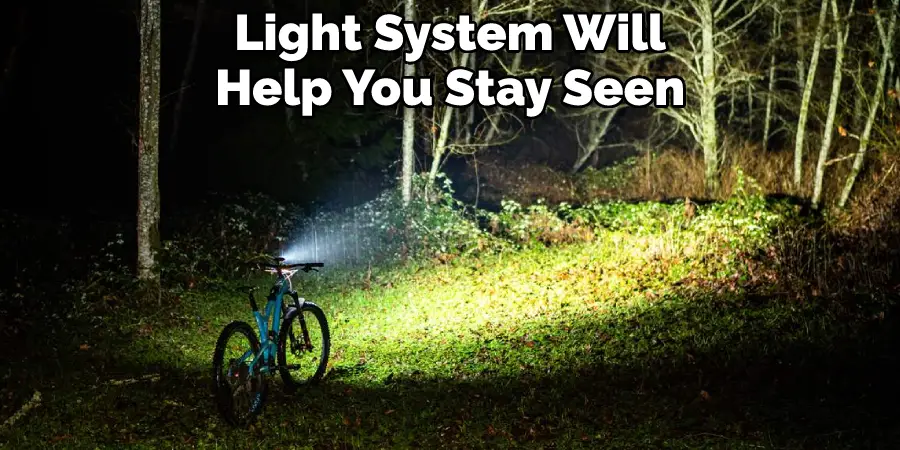
Once everything is set up and ready to go, get out there and enjoy a safe nighttime ride! Whether you are cruising down a winding trail or riding through city streets, your electric bike light system will help you stay seen and ensure you can enjoy every moment of your ride. You can rest assured that you are prepared for anything, no matter how dark it gets.
To keep your lights running smoothly for years to come, it's important to maintain them on a regular basis. This includes cleaning the lenses on a regular basis with a clean microfiber cloth, checking all connections for damage or wear, and ensuring that the battery pack is fully charged before each ride. You may also want to consider taking your lights in for professional maintenance from time to time, especially if they are regularly exposed to harsh conditions like rain or snowfall.
If your bike's lights start to dim or flicker while riding at night, it may be an issue with your battery pack. To resolve this problem, try fully charging your battery and turning on your lights again. If the issue persists, then it may be time to invest in a new battery pack or upgrade to a more powerful lighting system for even better visibility during nighttime rides.
If you are looking for even more ways to stay visible while riding at night, consider exploring other lighting options, such as reflective vests or pedal reflectors. These accessories can help ensure that you stand out on the road and remain safe in low-light conditions. Additionally, they may also qualify you for additional discounts or rebates when it comes time to purchase your bike lights.
Whatever option is right for you, be sure to explore all of your options before settling on a final choice. With these tips in mind, you should feel confident heading out into the night with your electric bike light system.
Whether you commute to work or just want to enjoy a relaxing ride through your local neighborhood, your bike lights will help you stay safe and visible no matter how far the journey. Good luck, and happy riding!
With these tips and tricks, you can be confident that your electric bike light will shine bright on even those longer rides! Happy cycling!
Investing in a good bike light is essential if you are looking for a reliable way to stay safe and visible while riding at night. With these tips, you can be sure to avoid common pitfalls and use your bike light effectively every time you ride after dark!
Congratulations now you now know how to turn on your electric bike light! This is an essential safety measure, especially if you are riding in low light conditions or at night. Remember always to be visible to other motorists and cyclists, and happy riding!
All in all, it is important to be able to turn on your electric bike light for many reasons. These were just a few of the main points. Remember that you should consult your owner’s manual first and foremost when attempting repairs or replacements on your bike. And if you are still unsure after reading this article, please seek out professional help!
Better safe than sorry when it comes to fiddling with electricity. Hopefully, the article on how to turn on electric bike light was helpful. Thanks for reading!