Do you want to learn how to make sure your bicycle is safe, secure, and running smoothly? Then it's time to tighten the bicycle crank.
It can be daunting for a novice bike rider, but with our step-by-step guide and instructions, repair work no longer needs to be a chore! Whether you are an avid cyclist or only ride occasionally, keep your bicycle in top condition by learning the proper methods for tightening up those cranks.
This post will teach you all about how to tighten bicycle crank and what tools you need for the job and easy techniques that will have your rider's bike swiftly straddling down streets from here on out. Let’s get started so we can have a road trip at any moment's notice!
Keeping your bike in good working condition is essential, especially if you ride it often. Cranks that are loose or not properly tightened can cause issues like a wobbling, pulling to the side, and even breaking off completely.
Additionally, loose cranks can put more strain on the rest of your bike and may lead to additional damage down the line. By properly tightening the crank, you can ensure a smooth, safe ride every time.
So if you want to keep your bicycle in top condition and feel confident as you zip around town, learning how to tighten your bicycle crank is essential. With our step-by-step guide, it's easier than you think!
You will need a few basic tools and supplies to tighten your bicycle crank. These include:
Once you have these supplies ready, you are ready to get started.
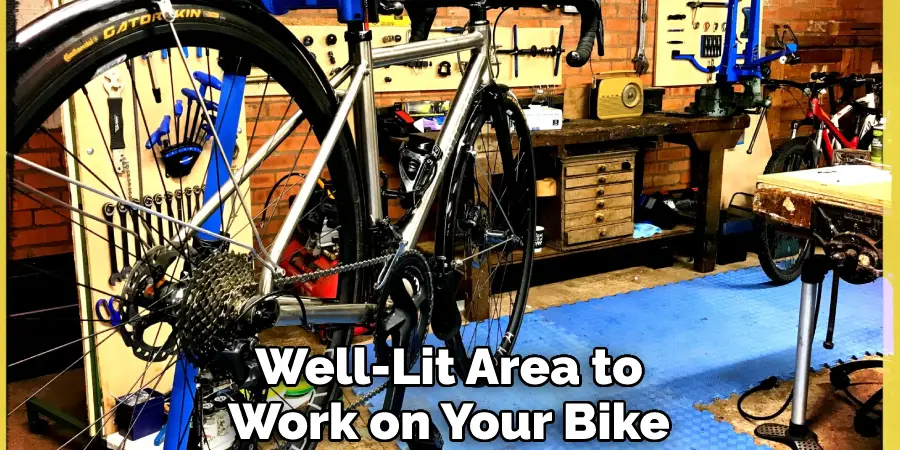
Find a flat, well-lit area to work on your bike so you can clearly see how the cranks fit together. Be careful not to put your bike in a place where it could fall or be knocked over. Because you are dealing with a bike that is likely quite heavy, it’s also a good idea to have someone assist you if possible.
Before you get started, make sure to clean the cranks and any other parts of your bicycle that could be in the way or cause issues while working on your bike's cranks. This will ensure that everything is well-lubricated and properly aligned as you tighten them up. Don't forget to wipe off any excess lubricant after you are finished tightening the cranks.
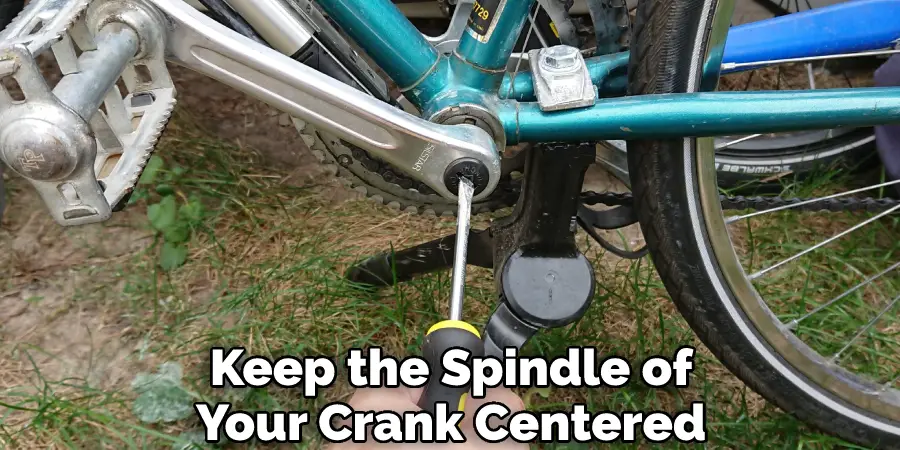
Using a wrench or socket set, carefully loosen the bolts that hold your bike's cranks in place. This step may require some extra leverage, depending on how tight they are. So it’s also a good idea to have an adjustable wrench or pair of pliers on hand.
Once you've loosened the crank bolts, take your time and tighten them back up securely using your wrench or socket set. Remember to go slowly and be careful not to over-tighten them, or you could damage your bike or injure yourself. You can also use a little lubricant to ensure the bolts move smoothly as you tighten them.
After you have tightened up your bike's cranks, take a moment to test how they feel and how smoothly your bike is running. If any of the cranks still feel loose or wobbly, go back and repeat steps 3-4 until everything feels secure. Ensure that your bike is stable and that the cranks move smoothly before riding it.
Once you have tightened your bike's cranks, apply a lubricant layer to keep them working properly for longer. Some people also recommend adding an extra coating after every ride to ensure the crank bolts stay tight and prevent further wear and tear on your bike. Moreover, you may also want to check your other bike parts and ensure they are properly lubricated and in good condition.
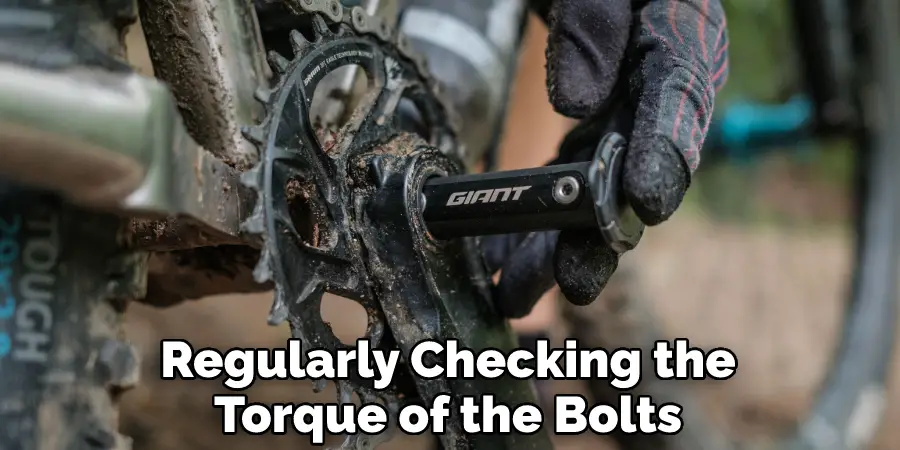
In addition to learning how to tighten a bicycle crank, it’s also important to learn how to maintain these components. This can mean regularly checking the torque of the bolts, routinely cleaning and lubricating them, or replacing damaged parts when necessary. By taking care of your bike's cranks on a regular basis, you can help keep your bicycle in top condition and ensure that it runs smoothly for years to come.
If you encounter problems or need additional guidance, don't hesitate to contact a professional mechanic. Whether you need help with maintaining the bolts or replacing damaged parts, there are experts who can help you troubleshoot any issues and get your bike running smoothly again in no time.
As with any other skill, learning how to tighten a bicycle crank takes practice, so make sure you take time out of your day to maintain and check on your bike regularly. This will not only ensure that your bike is working properly, but it will also help you keep in good shape. Maintaining a regular routine will help you become an expert in no time. And before long, you’ll be a pro at all things related to maintaining and repairing bikes!
Whether you are learning how to tighten a bicycle crank for the first time or working on a more complex repair, always remember to stay safe. Wear protective gear like gloves, goggles, and proper shoes when working with your bike to avoid accidents and injuries while staying focused on the task at hand. And most importantly, have fun as you work on your bike and explore everything it offers!
You can keep your bike running smoothly and efficiently by following these steps. Whether you are a beginner or a seasoned cyclist, these tips will help you stay safe and take care of your bike's cranks so that you can enjoy longer rides, smoother performance, and more cycling adventures!
With regular maintenance and care, your bicycle crank can provide you with years of reliable performance. By following these simple tips, you can quickly and easily ensure that your crank is properly tightened and functioning at its best.
There are a few common signs that your bicycle crank may need to be tightened, including rattling or creaking sounds while riding, difficulty getting your bike moving at the start of a ride, or excessive vibration in the pedals.
Additionally, if you notice that your cranks seem loose or wobbly when looking down at them from above, this may indicate that they need to be tightened up. If you notice any of these symptoms, it's best to seek professional help to get your crank back into good working order as quickly as possible.
However, with regular maintenance and care, you can often prevent issues from developing in the first place and keep your bike running smoothly for years to come. So whether you're a novice or an experienced cyclist, make sure to take good care of your bicycle crank by following these tips and tricks!
Knowing how to do basic maintenance on your bicycle is always a good idea. That way, if something goes wrong, you can fix it yourself. This blog post has taught you how to tighten bicycle crank.
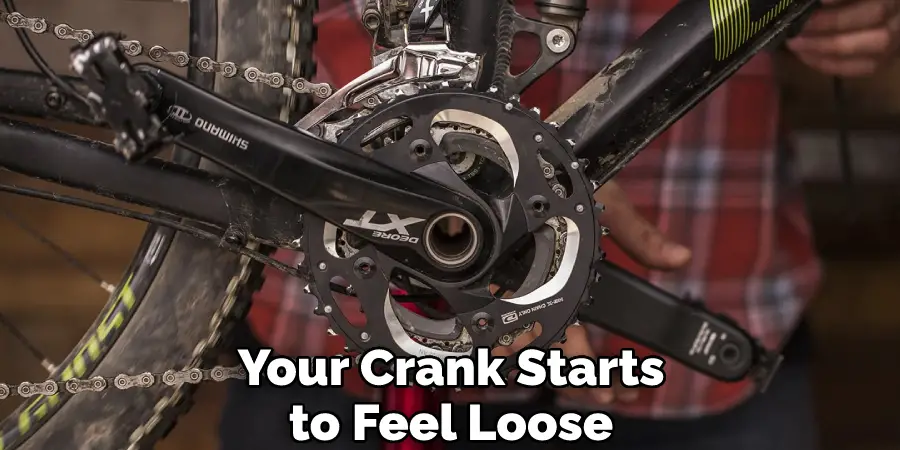
By following the steps outlined in this blog post, you will be able to tighten your bicycle crank in no time. While it may seem like a daunting task, with a little bit of patience and care, anyone can do it. So next time your crank starts to feel loose, don't hesitate to give it a try yourself. You might be surprised at how easy it is.
Hopefully, the article has been useful and informative. To find more tips and tricks on how to take care of your bike, be sure to check out other online resources, or talk to a local expert for advice. Happy cycling and Thanks for reading!