Do you need to dock a Blue Bike but are unsure how? It’s not as complicated as it seems! Although docked bike sharing may seem confusing at first, the process of docking Blue Bikes is actually quite simple. If you’re like most bike-share users, you take your blue bike wherever and whenever you need to get around. But when it comes time to end the ride, docking can be a tad tricky.
Fear not; the art of blue bike docking doesn't have to remain elusive! With just a few tips and tricks, biking with a blue bike will become second nature in no time at all. From what type of dock is needed for secure parking to understanding keypad entry - this blog post has everything that aspiring bicycle commuters need to know about successful dockage! Read on for all the details about how to dock blue bike!
Blue bikes have many benefits, including convenience, affordability, and ease of use. Whether you need to commute to work or run errands around town, the blue bike allows you to get from point A to point B in a quick and efficient manner. Plus, it’s perfect for those looking for an eco-friendly and sustainable transportation option.
With a bike-share program like the blue bike, there’s no need to worry about the hassles of car ownership or expensive cab rides – just hop on your bike and go! So if you’re looking for an affordable and convenient way to get around, consider signing up for blue bike today.
To dock a blue bike, you will need the following:
Once you have these items, docking a blue bike is really quite simple. Whether you’re stopping at the grocery store, taking a quick trip to work, or running an errand around town, the blue bike makes it easy to get where you need to go quickly and easily.
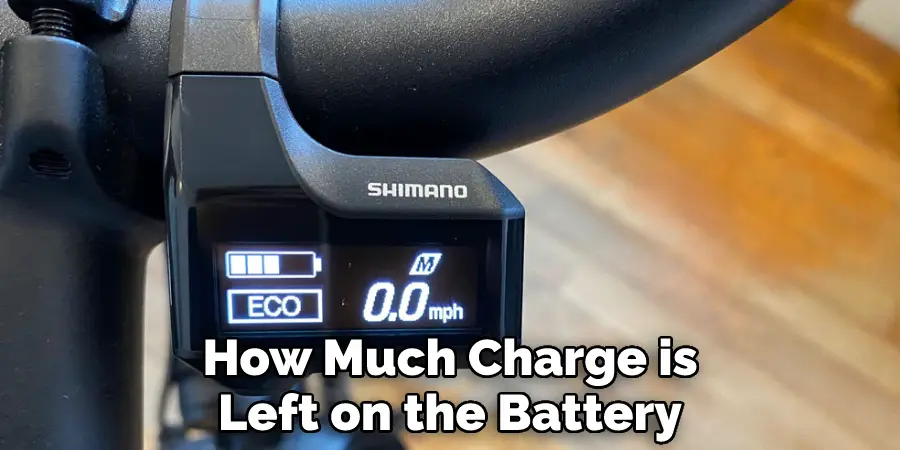
Before you begin your ride, make sure to check the status of your bike. This will give you an idea of how much charge is left on the battery and how far you can travel before needing to dock. Moreover, it will also let you know if there are any issues with the bike or how many calories it has burned.
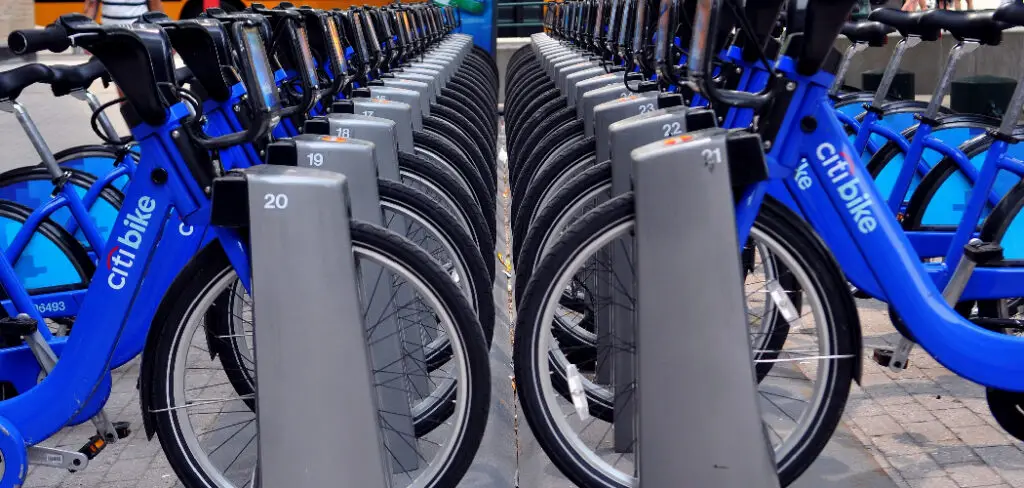
Once you’re ready to end your ride, look for a compatible dock that is available for use. This can be a ground dock or a rack attached to the wall of a building. Be careful not to dock in an unavailable area, as this could cause issues with your account or the bike-share system.
Before docking your blue bike, you must enter your destination using the keypad on the dock. This is necessary to calculate how much time you have left on the bike and how much it will cost to end your ride. It will also determine how much charge the bike will need to return to a dock once you’re finished.
Once you’ve entered your destination and are ready to park, carefully place your bike in the dock until it is securely locked into place. Make sure not to hit any buttons or remove the lock from around your tire during this process, as doing so could cancel out your ride and result in an additional fee. Don't forget to remove your helmet and lock up any accessories safely!
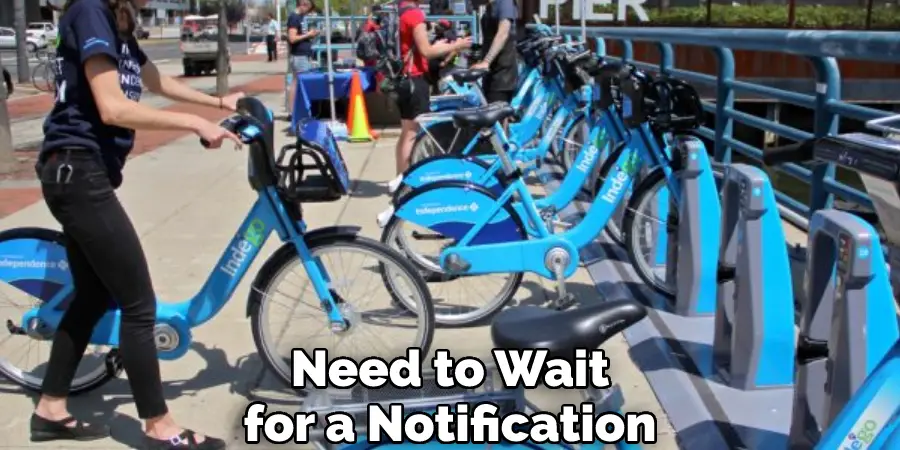
After docking your bike, you will need to wait for a notification that your ride has ended and how much it has cost. This will allow you to keep track of how many rides you have taken, how much they have cost, and how much time is remaining on the battery charge of your blue bike. Be careful not to move your bike or leave the dock area until this notification appears, as once you do so, the ride will end automatically and you may be charged a fee.
After exiting the dock, check your account balance to ensure that your ride's cost has been deducted from your account. If there are any issues, contact the customer service team to help resolve them. If everything is in order, you can continue on your way and enjoy your ride!
When you’re finished with your bike ride, be sure to return it to a dock with ample charge so it can be properly recharged for the next user. Contact customer support for assistance if you cannot find an available dock or if there are charging issues with the battery. You can also look up any issues using the blue bike app, which will inform you how much charge is left on your bike and how long it takes until it is fully charged.
If your bike was not properly docked or if you left the dock area before completing your ride, you may have incurred additional fees or charges. Make sure to check your account balance after exiting the dock and contact customer support if you have any questions about how to pay these fees. This will help you avoid additional charges and ensure that your account stays current.
When you’re finished riding, it is important to wash off your bike and ensure no dirt or debris is left on the frame or wheel. Run a damp cloth over the surface of your bike before returning it to its dock so that it is clean and ready for the next user. This will keep your blue bike in good condition and prevent any damage from occurring during future rides.
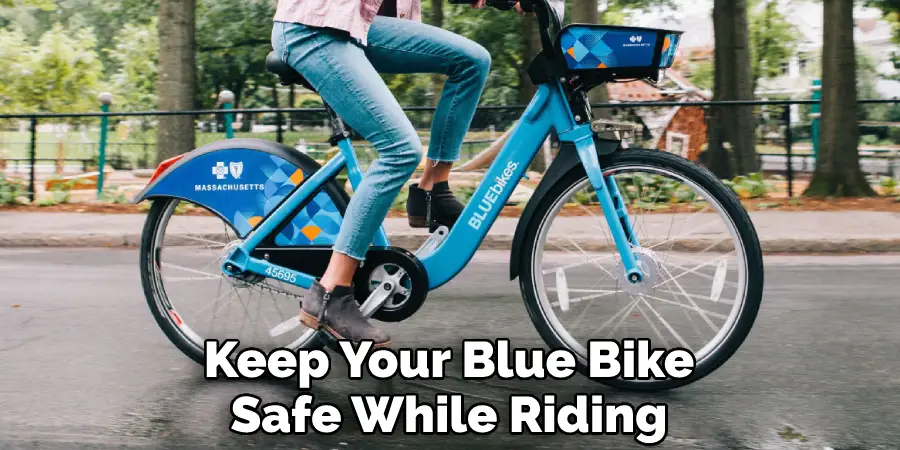
Finally, be sure to keep your blue bike safe while riding and when docked by locking up all accessories and locks around the bike. This will not only help to prevent any damage or theft, but it will also ensure that your bike is ready for the next user and can be safely docked and charged. These simple steps will help you use your blue bike easily and get the most out of this convenient mode of transportation.
With its easy-to-use dock system and affordable rates, the blue bike has become a popular choice for city commuters who want to get from point A to point B efficiently and efficiently. Whether you must commute to work or run errands around town, the blue bike can help you get where you need to go quickly and easily.
However, with a little patience and practice, you'll quickly learn how to dock a blue bike like a pro!
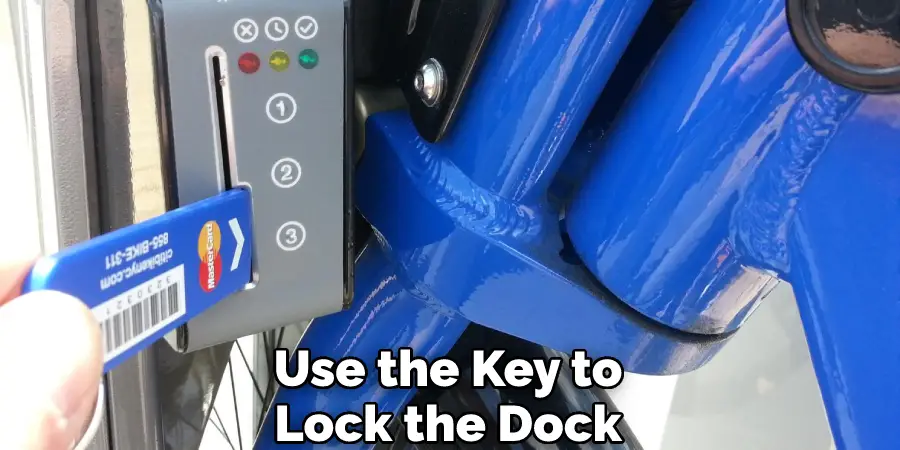
While it may seem daunting initially, docking your Blue Bike is easy once you get the hang of it. Just remember to enter your member PIN, give the bike a firm push until you hear it click into place, and then use the key to lock the dock. And don't forget to enjoy the ride!
Now that you know how to dock blue bike, it's time to go ride! With these simple steps, you'll be docking like a pro in no time. Get out there and explore all that your city has to offer on two wheels!
Hopefully, this guide has provided you with all the information and tips you need to know in order to dock your bike successfully. So what are you waiting for? Let's get started!