Have you ever been out on a bike ride only to have your chain slip mid-ride? It can be an incredibly frustrating experience knowing that midway through your exercise or leisure time. You will have to stop and figure out how to fix the issue. Luckily, fixing a slipped chain on gears isn't as difficult as it seems, and it doesn't even require taking apart the entire drive system.
With just a few simple steps, you'll be back up and running in no time - getting back on track with your biking adventures! This blog post will take you through exactly how to fix a slipped bike chain with gears. Keep reading for some handy tips on how to quickly diagnose problems behind why these chains fail and what tangible solutions are available so that this issue won’t occur again in future rides!
Once you have gathered these tools and materials, you are ready to start.
Before you begin working on your bike, stop and take a moment to assess the situation. Sometimes, adjusting your seat or handlebars can help correct slipping chains. If this doesn’t work, though, it is likely that your chain has slipped due to some sort of problem with how it's installed or functioning.
Next, you will need to identify how your chain is slipping. Is it the entire chain that has slipped off its gears, or just one segment? If it’s the entire chain, then this usually means that you have a derailleur problem - which can be tricky to fix on your own. For now, focus on how just one chain segment has slipped off its gears.
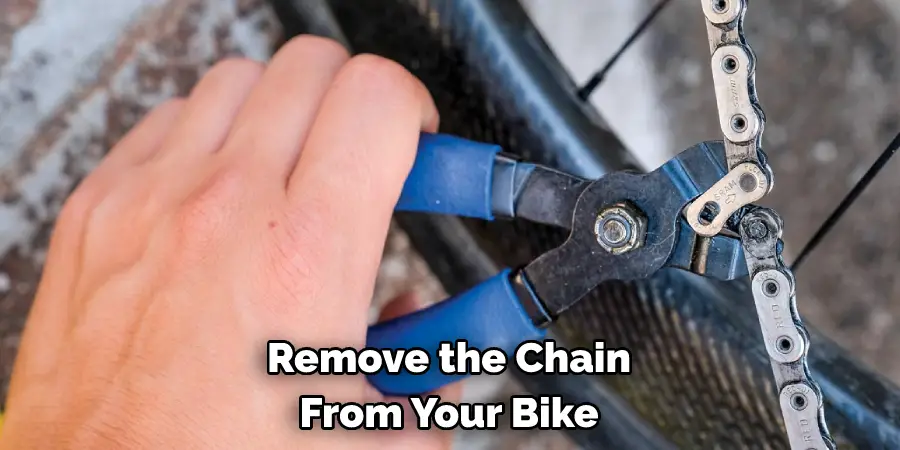
Once you have located the segment where your chain is slipping, you must remove the chain from your bike. Loosen each bolt connecting your chain to its gears using a screwdriver or multi-tool. For some chains, you may need to use an adjustable wrench to complete this step.
Now that you have removed the chain inspect it for any damage or debris that might be causing it to slip off its gears. Oftentimes, dirt and dust can build up in the back of our bikes and cause problems with how the chain interacts with the gears in your bike's drive system. So make sure to clean out any visible dirt or grime before reattaching your chain.
If you notice that your chain is missing some of its connecting pins or rivets, then be sure to replace these before reattaching the chain. If a pin or rivet is broken off, it could become lodged in the gears, causing additional problems. If you need to replace any pins or rivets, this can usually be done by simply removing the relevant segment of your chain and attaching a new one in its place.
Once you have cleaned and inspected your chain for damage, you are ready to put it back on your bike - reconnecting it to each gear as necessary. Ensure all bolts and connectors are secure and tight before continuing your ride. Be careful not to overtighten any bolts, as this can cause additional problems down the line.
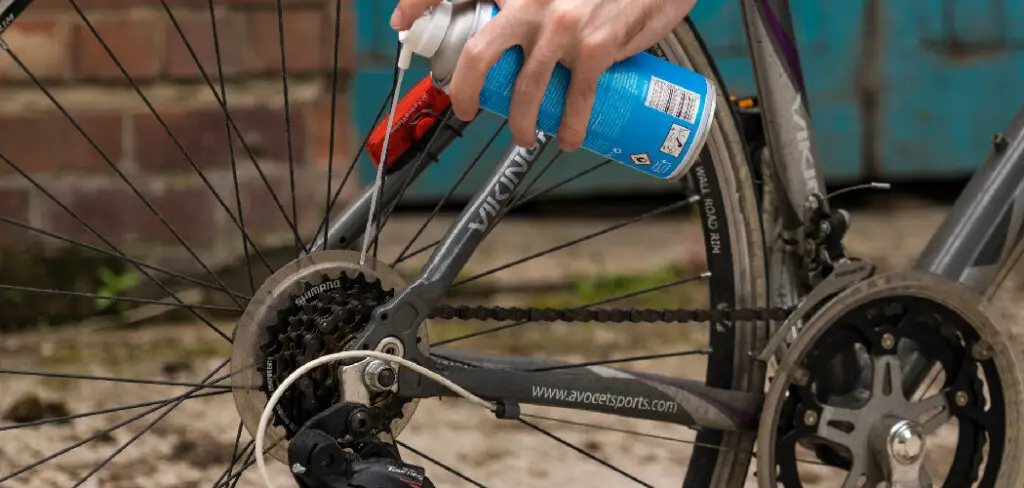
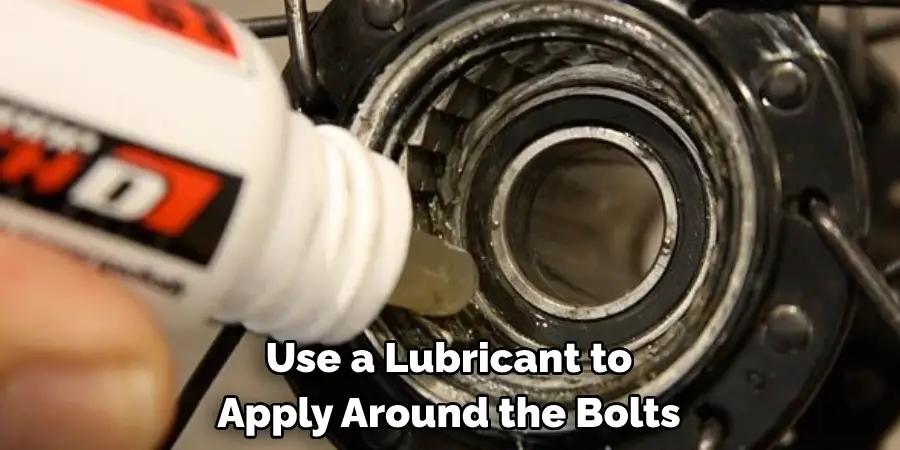
After reattaching your chain, be sure to apply some lubricant to it - such as WD40 or another bike-specific lubricant. This will help to keep dirt and grime from building up on the surface of your chain and causing it to slip in future rides. You can also use a lubricant to apply around the bolts and gears of your bike's drive system and on each end of your chain.
Once you have reattached and lubricated your chain, make sure to test it out on a short ride before heading off for a long journey. This will give you a chance to check how well it’s working in practice and how necessary any additional adjustments may be. If your chain continues slipping, take it back to your local bike shop for further inspection.
To keep your chain from slipping off its gears in the future, make sure to clean and lubricate it regularly - especially if you frequently ride in rainy or dusty conditions. Many cyclists recommend cleaning and lubricating your chain at least once a week - although this can vary depending on how often you use your bike.
Ensure that your chain is always free of dirt, grime, and other debris - and be sure to replace any damaged pins or rivets that you may notice along the way. With a little care and attention, you can keep your bike chain in peak condition for years to come.
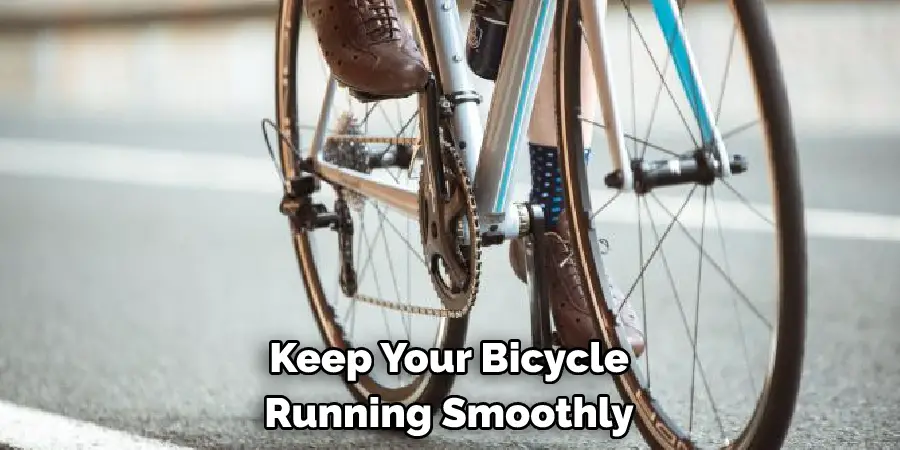
At the end of the day, if you still have problems with your bike chain slipping off its gears, it may be worth taking your bike to a local shop for professional help. A repair person can take a closer look at how your drive system is working and suggest any necessary adjustments or repairs. With a little care and maintenance, you can keep your bicycle running smoothly for years to come - no matter how much use you put it through!
Following these simple steps, you can fix a slipped bike chain with gears and get back on the road in no time.
1. Before you start, check that the gears are properly adjusted and do not need to be tuned. If they seem to move slowly or erratically, try adjusting them before proceeding with the chain repair.
2. Inspect your bike chain for broken links or other signs of wear and tear. If your chain is damaged, it will be much more difficult to fix a slipped bike chain effectively, so take care of any issues beforehand.
3. Use fine-grit sandpaper to clean off any dirt or debris that may have been trapped in the chain as you ride your bike. This will help ensure a smooth and secure fit when fixing the slipped bike chain later on.
4. Locate the snapped piece of your bicycle chain, and remove it from the bike. You may need to disconnect other parts of your chain, such as derailleurs or gear shifters, to do so.
5. Thread one end of a new replacement chain through the gears on your bike until you can reach the joint where the broken chain once was. Attach this new chain to the old one using an appropriate link closure tool or pin.
With these tips and tricks, you can successfully fix a slipped bike chain with gears and get back out on the road in no time. Whether you are a casual rider or an experienced cyclist, keeping your drive system well-maintained is key to enjoying a smooth and safe ride. So take good care of your bike today, and enjoy the freedom of the open road!
Several factors can contribute to a bike chain popping off its gears, including wear and tear over time, improper maintenance, or sudden impact or pressure. Some common causes of a popped chain may include:
1. Excessive wear and tear on the chain due to repeated use over an extended period. This can cause sections of the chain to become stretched out or damaged, making it more prone to slipping off its gears when you ride.
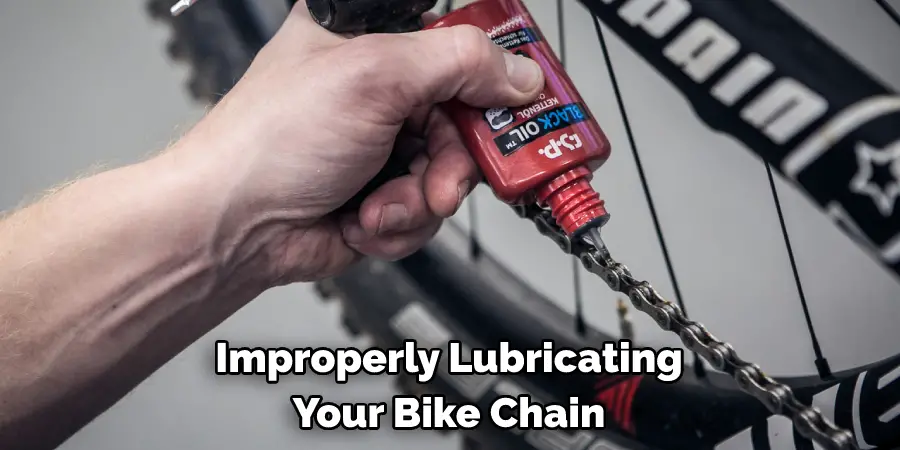
2. Improperly lubricating your bike chain, which can cause it to become dry and brittle over time. A bike chain is more likely to slip off its gears without adequate lube due to increased friction and reduced flexibility.
3. Sudden shocks or impacts to the bike chain, such as riding over a bumpy or uneven surface. This can cause the chain to shift and pop out of place, especially if it is already damaged or worn.
You can keep your bike running smoothly for years to come with proper maintenance and care!
In order to fix a slipped bike chain with gears, you will need to remove the chain and put it back on. You may also need to adjust the tension of the chain. If you have any questions about how to do this, feel free to ask a professional at your local bike shop. With these easy steps, you'll be able to get back on the road in no time!
Now that you know how to fix a slipped bike chain with gears, you'll be back on the road in no time. Just remember these easy steps, and you'll be able to fix your chain in a snap. So get out there and enjoy the ride!
Hopefully, this information has helped you. Whether you are an experienced cyclist or a casual rider, keeping your drive system well-maintained is key to enjoying a smooth and safe ride. So don't hesitate to reach out for help if you have any questions about how to maintain your bike or fix a popped chain. Good luck!