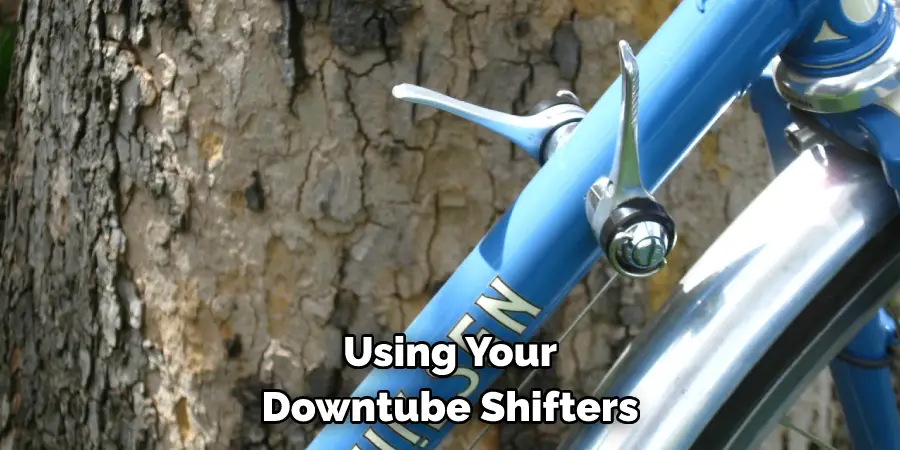
Are you familiar with the convenience of using downtube shifters on your bike? If you're new to this type of shifting system, it can initially seem a bit intimidating. But with a little practice and some basic knowledge about how to use downtube shifters, you'll be effortlessly cruising through all of your gear changes in no time.
If you want to add a unique and modern feel to your bicycle, downtube shifters are just the thing. With their sleek design, they not only look great but also perform optimally when it comes to shifting gears while cycling. If you’re brand new to the concept of downtube shifters or simply want to learn more about how they work and how best to use them, then we have all the details right here in this blog post for you. This is the place where you’ll find everything that you need!
Before you get started, there are a few things that you will need to use downtube shifters on your bike successfully.
1. Shifter Cables and Housing: These components make up your shifter system and allow you to shift gears while cycling seamlessly. They may be sold separately, or you may need to purchase them as a set.
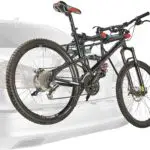
2. Derailleurs: Downtube shifters connect with your bike's front and rear derailleurs. These components help move your chain between different gear options and allow you to shift seamlessly while cycling.
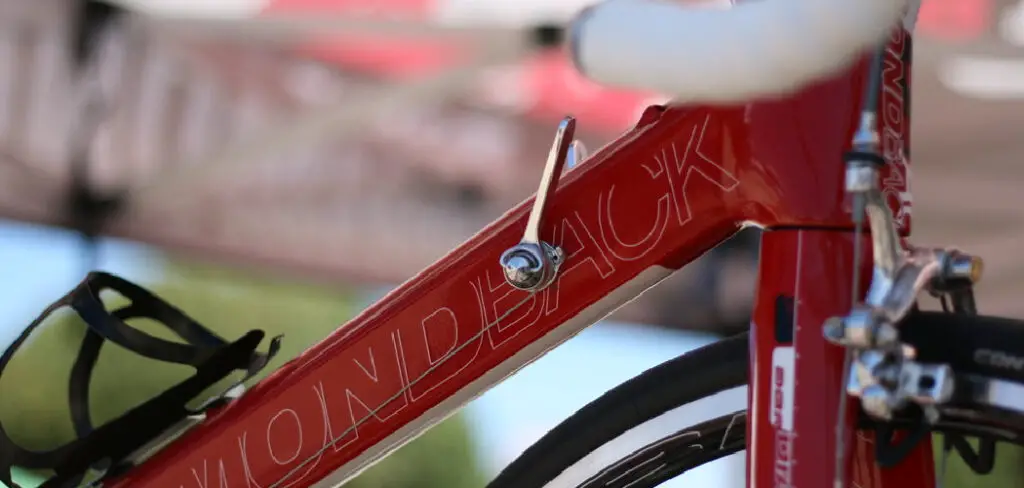
3. A Compatible Frame: In order for downtube shifters to work properly, your frame must be equipped with a set of braze-on or bosses on the tubes of your bike frame. These bosses are what hold your derailleur cables in place, so it’s important that they are present before you begin installing your new shifters.
Now that you know what tools and materials you need to get started let’s dive into how to use it!
The first step in learning how to use downtube shifters is attaching your shift cables and housing. To do this, you will first need to find the correct derailleur bosses on your bike frame and install the corresponding cable stops. If you’re unsure how to complete this step, you may want to consult a bike mechanic or refer to the manufacturer’s instructions that came with your shifters.
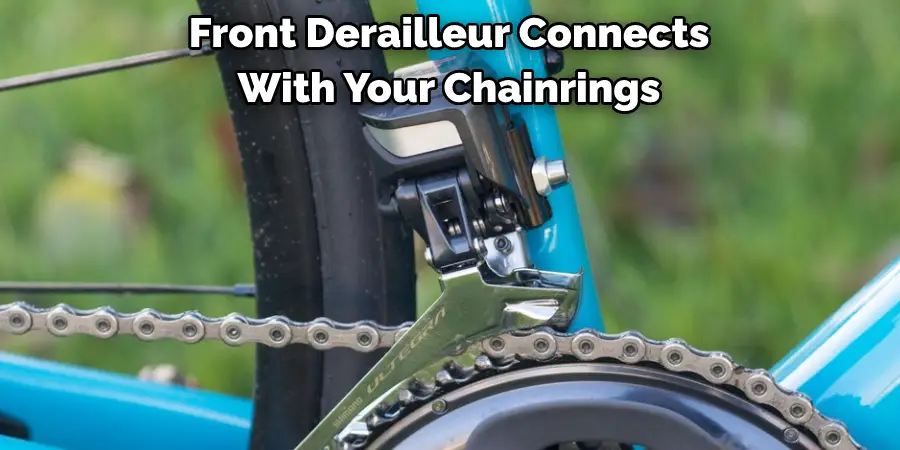
The front derailleur connects with your chainrings and controls how your chain moves between them when you change gears. Once the cable for your front derailleur is properly installed, it’s time to mount the actual derailleur onto your bike frame. Be careful to align it correctly with your chainrings, making sure that the inner cage of the derailleur is positioned over the smallest ring.
Similar to how you installed the front derailleur, now it’s time to attach the rear one. The rear derailleur helps to control how your chain moves between the rear cogs of your bike, and it should be installed so that its inner cage is positioned over the largest cog. This will ensure that your chain is not pushed too far in any one direction and can shift smoothly between all of the gears.
In order for your downtube shifters to work properly, it’s important that your bike chain length is correctly adjusted. If you have a flexible ruler or tape measure, simply extend it from the front derailleur to the rear derailleur along the path of your bike chain. Measure how much extra slack or how many links need to be removed so that there is no tension on the derailleur systems when you ride.
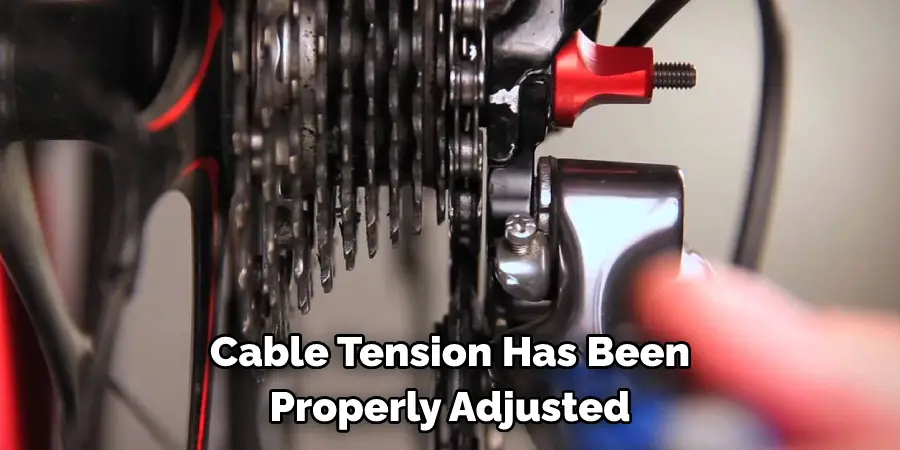
Now that your shifter cables are firmly attached, it’s time to shift your cable tension so that they can start working properly. This is usually done by turning a small set screw on either the front or rear derailleur, though how this is accomplished will depend on your specific shifter system. You can consult the manufacturer’s instructions for more guidance on how to adjust this setting.
Once your cable tension has been properly adjusted, it’s time to fine-tune your rear derailleur. Begin by adjusting how high or how low it sits on your bike's frame. It should be positioned so its outer cage barely clears the largest cog. You can then adjust how tightly or how loosely your chain fits over the cogs by turning a small screw on the outside of the body of the rear derailleur, known as a barrel adjuster. Be careful not to turn this screw too far in either direction, as you may end up damaging your derailleur.
Now that your rear derailleur is adjusted correctly, you can turn your attention to the front one. Like the rear derailleur, it should be positioned so that its inner cage just barely clears the smallest chain ring when you shift gears. To adjust how tightly or how loosely your chain fits over this chain ring, use a barrel adjuster located on the outside of your front derailleur body.
Once you have completed all of these adjustments and feel that your shifters are working properly, it’s important to check how they perform regularly. If you notice that your chain is not shifting smoothly or at the correct speeds, then you may need to re-adjust one or more of the settings on your derailleurs. Take a few moments to double-check how each component is performing and make any necessary adjustments as needed. With careful tuning and maintenance, your downtube shifters can help keep you riding efficiently for years to come.
The final step in setting up your downtube shifters is to test how they work. Get on your bike and start riding, shifting gears at different speeds and on different inclines to see how well the derailleurs keep your chain moving smoothly between the bike’s different cogs. If you notice any issues with how your shifters are performing, take a few minutes to make any necessary adjustments before continuing on with your ride. With regular maintenance, these simple yet effective components can help ensure that you get the most out of every ride.
By following the steps above, you can successfully use your downtube shifters to smoothly and efficiently shift between the different gears on your bike. Whether riding on flat terrain or tackling more hills and inclines, these handy components can help keep your chain moving in the right direction so that you can focus on enjoying your ride. So what are you waiting for? Get out there and start shifting with ease!

1. Before you start riding, make sure that your down tube shifters are properly aligned with the gear cables. You can do this by firmly grasping both sides of the shifter and gently pulling in opposite directions until it clicks into place.
2. Use light pressure to shift gears, as pressing too hard can cause damage to your bike's derailleur system or break the gear cable altogether.
3. When shifting into larger gears (higher numbers), move the shifter up towards your seat post and when shifting into smaller gears (lower numbers), move the shifter down towards your front wheel.
4. If you find that your downtube shifters are not shifting smoothly, try applying a bit of grease or chain lube onto the gear cable to reduce friction.
5. If your shifters are not shifting at all, try adjusting the gear cable tension by turning the adjustment screw at the rear of your bike until you hear a smooth click. This is typically a quick and easy fix that can save you from having to take your bike into the shop for repairs.
With these tips and tricks, you should have no trouble using your downtube shifters effectively and efficiently on your next ride. Whether you're just learning how to use them or want to improve your technique, these simple steps will help make sure that you get the most out of every ride!
Downtube shifters are an essential part of any bike. You can make the most of your ride by understanding how to use your downtube shifters.
You can utilize downtube shifters properly by following the steps we provided. If these steps are not executed carefully, they can permanently damage the equipment. We hope that by reading this post, you feel more confident and prepared to make the switch to downtube shifters!
Now that you know how to use downtube shifters put your new knowledge to the test. Go out and ride with confidence, knowing that you can tackle any terrain that comes your way. You'll shift like a pro in no time with a little practice. Thanks for reading!