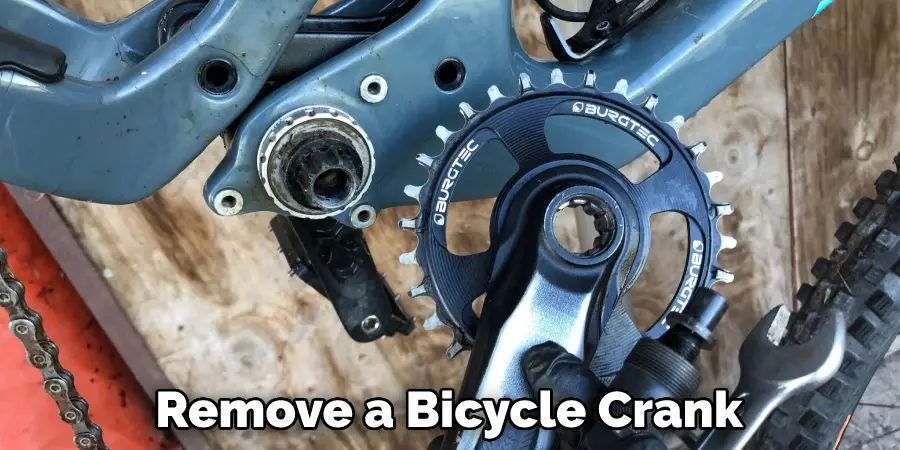
For bicycle owners, removing a crank can often be one of the most challenging and frustrating components of bike maintenance. Not only can it be difficult to find the right tools for the job, but many cyclists also find themselves struggling with techniques and methods for taking off a crank without damaging their bike or risking injury.
Fortunately, there are ways to safely remove bicycle cranks without needing specialized tools such as pullers – you just need the right knowledge! In this blog post, we'll walk you through an easy step-by-step process on how to remove bicycle crank without puller. By following these steps correctly, you should have an easier time understanding and efficiently tackling this task so that your bike remains in its best condition!
Yes, you can! Removing a crank arm without a puller requires a few simple tools and some basic knowledge.
However, it is important to note that the risk of damaging your bike or injuring yourself increases when taking this approach, so take extra caution and make sure you follow the steps provided below exactly as they are written.
Make sure that if you decide to take this risk, be sure that you are familiar with bike maintenance and have the necessary tools available.
If you have a hammer and screwdriver available, you can use them to remove the crank. First, use the screwdriver to loosen the bolts that hold the crank in place. Then, use the hammer to tap on the end of the crank until it comes loose. iF the crank is stuck, you may need to use a lubricant such as WD-40 or something similar to help loosen it. Once the crank is loose, you can then remove it from the bike.

If you have a pipe wrench, you can use it to remove the crank. First, place the jaws of the wrench around the end of the crank. Then, turn the wrench in a counterclockwise direction to loosen the crank.
Once the crank is loosened, you can pull it away from the wall. Be careful not to put too much pressure on the wrench; this may damage the crank or the wall. When you've removed the crank, use a rag to wipe away any dirt or debris that was left behind. Finally, store the crank in a safe place until you're ready to reinstall it.
Pliers can also be used to remove a bicycle crank. First, grip the end of the crank with the pliers. Then, twist the pliers in a counterclockwise direction until the crank comes loose. Once loose, pull the crank off of the bicycle. Be sure to wear work gloves while doing this as the edges may be sharp. Additionally, if the crank is extremely stiff, use some lubricant to help loosen it. After the crank has been removed, the process can be repeated for the other side.
An adjustable wrench can be used in much the same way as pliers to remove a bicycle crank. First, grip the end of the crank with the wrench. Then, turn the wrench in a counterclockwise direction until it comes loose. Be sure to use caution when using an adjustable wrench, as they can slip off the crank and cause injury.
Additionally, make sure to adjust the size of the wrench so it fits snugly around the crank before attempting to loosen it. Once you’ve got a good grip on the crank, you should be able to turn it without much difficulty. With the crank removed, you can now go ahead and replace it with the new one.
A socket wrench can also be used to remove a bicycle crank. First, attach the appropriate size socket to the end of the wrench. Then, place the socket over one of the bolts that holds the crank in place.
Finally, turn the wrench in a counterclockwise direction until both bolts are loosened and the crank can be removed. Care should be taken when using a socket wrench to make sure that the crank is not damaged during removal. Once the crank has been removed, it can then be replaced with a new one.
An impact driver can be used if you are having difficulty loosening the bolts that hold the crank in place. First, attach an impact-rated socket to your impact driver. Then, place The socket over one of The bolts and strike The bolt with The driver until it is loosened enough to remove by hand.
Repeat The process for all of the bolts. Once they are removed, the crank should come off easily. Be sure to keep a firm grip on The crank when removing it, as it can be heavy. When reinstalling The crank, replace The bolts and tighten them with The impact driver for a secure fit.
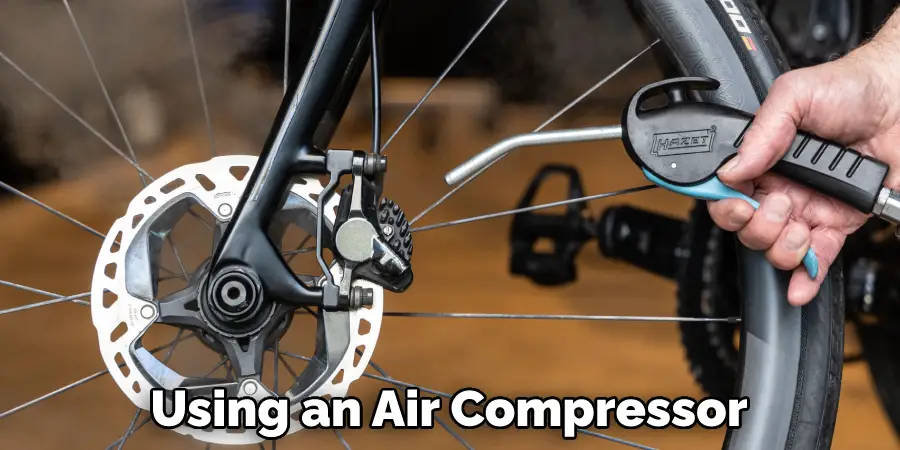
If you have access to an air compressor, you can use it to remove a bicycle crank. First, attach an impact-rated socket to the end of your air hose. Then, place the socket over one of the bolts that hold the crank in place and turn on the compressor.
Finally, strike The bolt with bursts of pressurized air until it is loosened enough to remove by hand. Be prepared for loud noise, as the air compressor can be quite powerful. Once it is removed, you will need to unscrew the other bolt to fully remove the crank. Make sure to wear safety glasses when using an air compressor.
Applying heat can also be used to loosen stubborn cranks. To do this safely, first make sure you are wearing protective gear such as safety glasses and gloves. Next, use a heat gun or torch to slowly apply heat around The area where The crank connects to The bike. Be sure not to apply too much heat, as this may cause damage to your bike or injury to yourself.
A vise can be used if you have access to one and are comfortable using it on your bicycle. To do this safely, first, make sure that the vise is securely attached and tightened down before you begin. Then, place the end of the crank into the jaws of the vise and tighten it firmly but not too tightly. Finally, twist the crank slowly in a counterclockwise direction until it comes loose from The bike's frame.
If all else fails, you may need to purchase an extractor tool to help remove The crank. These tools are specifically designed to loosen stubborn cranks and can be purchased at most bike shops or online. To use an extractor tool, first, make sure that the tool is properly sized for your bike's crank before attempting to use it. Then, follow the instructions provided with The tool to safely remove The crank from The frame of your bicycle.
No matter which method you decide to take, take extra caution and make sure you follow the steps provided exactly as they are written. If you decide to take this risk, be sure that you are familiar with bike maintenance and have the necessary tools available. Doing so will ensure that you can easily and safely remove your bicycle's crank without damaging yourself or your bike.
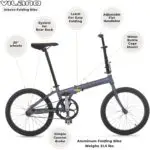
Before attempting to remove a bicycle crank without a puller, make sure you have all the necessary tools for the job. A good quality hex wrench set, adjustable wrench, and Allen keys are all essential for the process.
It is important to ensure that the crank arm is properly lubricated before attempting removal. This will help to reduce the likelihood of damaging bolts or threads while removing the crank arms. Additionally, it will also help make it easier to remove any stubborn parts.
Once you have applied proper lubrication, use your hex wrench or adjustable wrench to get a good grip on the crank arm and turn it in a counterclockwise direction until it begins to loosen up. Make sure not to be too aggressive with your turning, as this can cause damage to the bicycle frame.
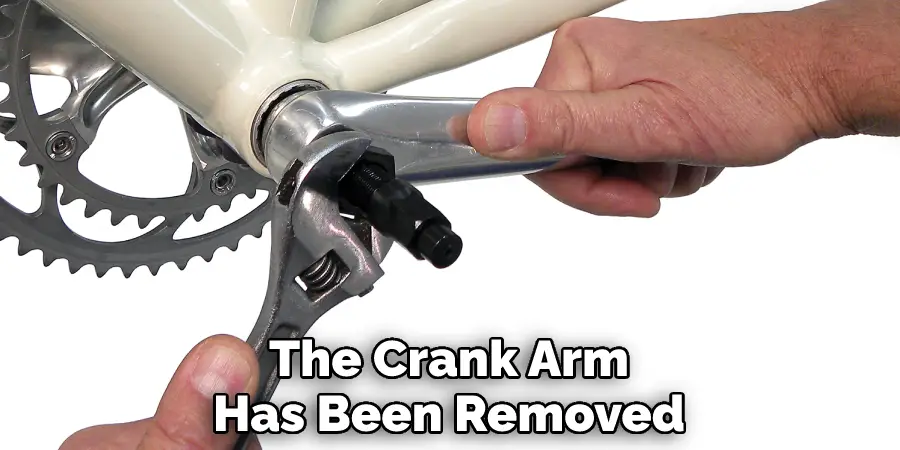
Keep an eye out for any damage to the threads of the crank arm as you are removing it. If there is any visible damage, then it would be wise to stop and get a puller rather than damage further.
Once the crank arm has been removed, use a clean cloth to remove all dirt, oil, and grease from the parts before reassembling them onto the bicycle frame. This will ensure that everything fits properly when you are done with your repairs.
Now that you know how to remove bicycle crank without puller, you can get back on the road in no time. Be sure to follow these steps carefully to avoid damaging your bike. With a little practice, you'll be able to fix your bike like a pro. Do you have any tips for other cyclists? Share them in the comments below.