Are you an avid cyclist looking for a safe and easy way to transport your bike? Strap it onto your roof rack! Whether you're traveling long distances or just need to get to the other side of town, roof racks can provide the optimal option for taking your bike with you.
Navigating the city with a bike can feel like an uphill battle. Whether you’re taking your bike on a road trip, commuting, or just heading to the nearby park for some weekend fun — it pays to know how to secure it safely and securely onto your roof rack.
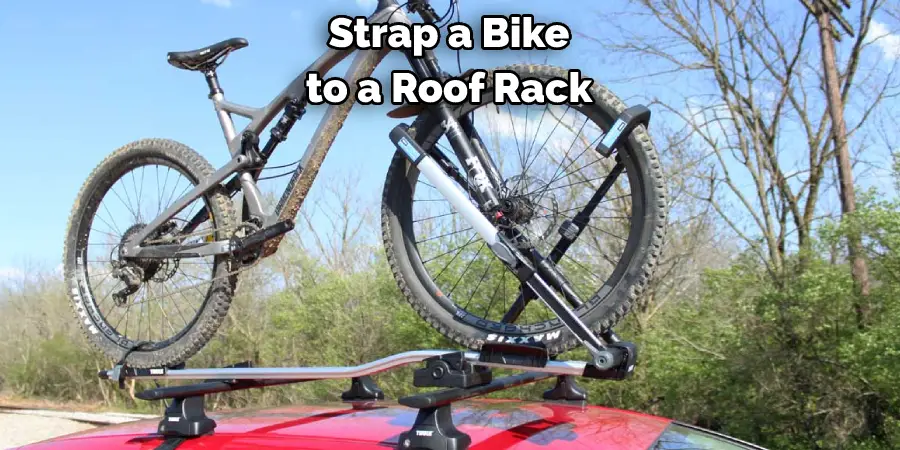
Today we'll provide you step-by-step instructions on how to strap a bike to a roof rack so that you can get back out on the roads without worrying about potential damage to your vehicle or more importantly - injury risk for yourself!
To get started, you will need some basic supplies:
Once you have all of these materials, follow the steps below to safely and securely strap your bike onto your roof rack.
This will be your first step if you don't already have a roof rack. Check your vehicle's manual to ensure that it is compatible with your car or SUV, and then follow the instructions on how to attach it properly. Be careful not to damage your vehicle in the process.
Position your bike on the roof rack to be centered and secured properly. If you have multiple bikes, ensure each one is safely secured before moving on to the next step. Ensure that the wheels of your bike are securely attached to the rack itself using ropes or straps.
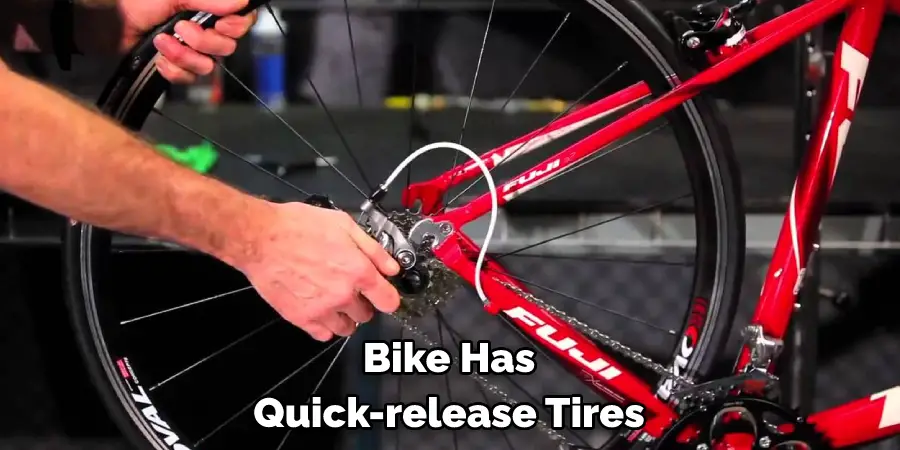
If your bike has quick-release tires, use extra support to prevent them from moving around during transport. You can secure the tires by looping rope or bungee cords through the wheel axle and tying them to the roof rack. Don't worry if you don't have quick-release tires, as your bike will be securely strapped down at this point.
Once your bike is secured to the roof rack, use additional straps or bungee cords to secure it further and prevent any movement during transport. Be sure to loop the straps through both wheels and around your bike's frame for added stability. If you're transporting multiple bikes, ensure each one is secured before moving on to the next step.
Before you start driving, be sure to double check all of your straps and cords to ensure that they are secure and won't come loose during transport. Keep an eye out for any signs of wear or damage that could compromise the security of your bike. If necessary, replace any worn or damaged straps or cords to prevent accidents.
If your bike has removable tires, be sure to inspect them for any damage and then use a portable air pump to inflate them properly before hitting the road. This will help prevent blowouts or other issues during transport, ensuring a smooth ride for both yourself and your precious cargo. You can also use the pump to inflate your bike's tires when you reach your destination.
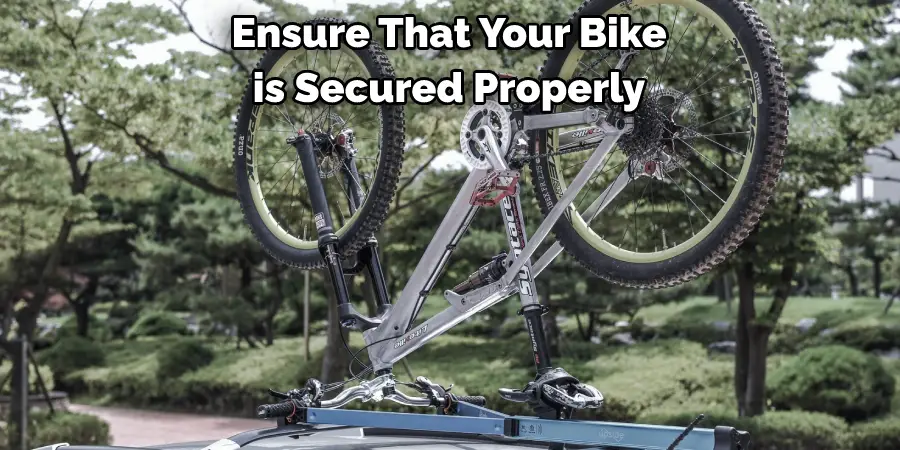
As you start driving, take caution to ensure that your bike is secured properly and won't come loose during the trip. Be sure to check your mirrors and all around you for any signs of movement, and if you see anything that looks out of place, pull over to address it immediately. Don't worry - once you've got your bike safely strapped to your roof rack, you'll be ready to hit the road in no time!
Once you reach your destination, be sure to take extra care when you unload your bike from the roof rack. If necessary, use a portable air pump or other tools to deflate your tires before detaching them from the rack so that they don't get caught on anything in transit. Then carefully remove the straps or bungee cords that have been holding your bike in place, being careful not to damage them as they come off.
Once your bike is securely unloaded from the roof rack, make sure to store it properly and safely lock it up before heading inside. Keep in mind that extra precautions might be necessary if you're traveling to a busy or crowded area, as this will help prevent anyone from simply grabbing your bike and taking off with it. Additionally, be sure to wipe down your bike and check for any signs of damage after transport so that you can address any issues before they potentially get worse.
Congratulations - you've successfully strapped your bike to a roof rack and made it safely to your destination! Whether you're hitting the road for a weekend adventure or commuting to work every day, this simple checklist for how to strap a bike to a roof rack will ensure your ride goes smoothly every time. Remember to always take extra care when driving and handling your bike, and enjoy the ride!
By following these steps, you can safely and easily transport your bike on any road trip or commute. Whether you need to strap it to a roof rack or secure it in another way, these tips can help keep your bike safe and secure throughout the entire journey. So what are you waiting for? Get out there and start riding today!
1. Make sure that the straps or ropes you use to attach your bike to the roof rack are strong and secure.
2. Before attaching your bike, lay down a foam padding layer on the roof rack where it will rest. This will help protect both your bike and the car from scratches or dings during transport.
3. When possible, choose a route with minimal traffic, as this will make navigating other vehicles easier without worrying about hitting anything or being pulled over by law enforcement.
4. If you have multiple bikes that need transporting at once, consider investing in a specialized bike carrier attachment rather than trying to strap multiple bikes together with one set of straps or ropes. These attachments are designed specifically for the task of securely transporting multiple bikes at once and are more efficient and reliable than trying to do it yourself.
5. In order to ensure safe and secure transport, be sure to check all straps, ropes regularly, and connectors for wear or damage that could compromise their strength or security. This will help minimize the risk of anything coming loose during transit, which could result in damage to both your bike and your vehicle.
With these tips and tricks, you can easily and confidently transport your bike to your next destination. So what are you waiting for? Get out there and start riding today!
Shop roof racks and accessories to mount a bike at https://www.seasucker.com/
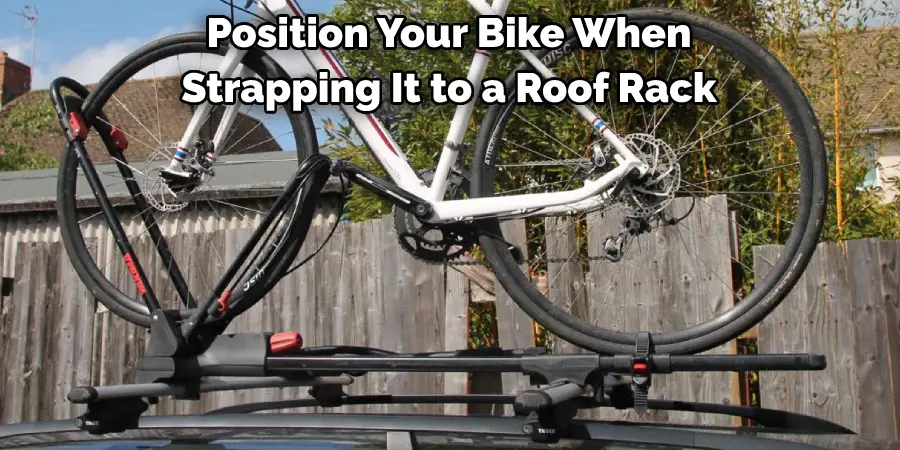
While there is no definitive answer to this question, a few key factors can help you decide how you should best position your bike when strapping it to a roof rack. Some things to consider include how much space you have available on the roof of your vehicle, how heavy your bike is, and what kind of terrain or weather conditions you will face during your journey. Ultimately, the best approach will depend on your specific situation and preferences.
One possible option for transporting your bike is by strapping it securely by the front tire. This can be effective in situations where you have more space available on the roof of your vehicle and if your bike tends to be lighter and easier to maneuver. Additionally, if you will be driving on bumpy or uneven roads during your trip, this can help keep your bike stable and prevent it from swinging around too much.
Another option for transporting your bike is by hanging it from the back tire. This can be a good choice if you need to use up as little space as possible on the roof of your vehicle or if you have a heavier or more difficult-to-maneuver bike that could potentially pose more of a challenge when strapping it in place. Also, strapping your bike to the back tire will help keep it out of the wind and minimize distractions while you are driving, which can be helpful if you travel long distances or in less than ideal weather conditions.
Now that you know how to strap a bike to a roof rack, you're ready to hit the open road! Be sure to practice strapping your bike up at home before taking it out on the highway. And always remember to secure both the front and back tires for maximum stability. With these tips in mind, you'll be an expert at strapping bikes to racks in no time.
Hopefully, this information has helped you to understand better how to strap your bike safely and securely to a roof rack. Whether you're planning a long trip or simply commuting around town, the keys to success are proper planning and careful attention to detail when attaching your bike. So what are you waiting for? Get out there and start riding today!